

Building a gaming PC that dominates in esports starts with smart, informed choices. For tech-focused players chasing the edge on competitive battlefields, every component—from a high-frequency processor to lightning-fast NVMe SSDs—defines both your gameplay and potential for victory. This guide unpacks each critical part and move, helping you create a system where component synergy powers your climb up the leaderboards.
$ads={1}
{getToc} $title={Table of Contents}
Quick Summary
| Key Insight | Explanation |
|---|---|
| Choose High-Quality Components | Select a strong CPU, compatible motherboard, sufficient RAM, and fast storage based on your gaming needs and budget. |
| Assemble with Care and Precision | Follow a step-by-step assembly process to avoid damaging components. Double-check all cable connections before powering on. |
| Install Drivers Immediately | After installing the operating system, update and install all necessary drivers to ensure stability and peak performance. |
| Benchmark and Optimize Performance | Run performance tests to evaluate your system, then adjust in-game settings and close background apps for smoother gameplay. |
| Monitor System Temperatures | Track CPU and GPU temperatures during gaming sessions to prevent overheating and long-term hardware damage. |
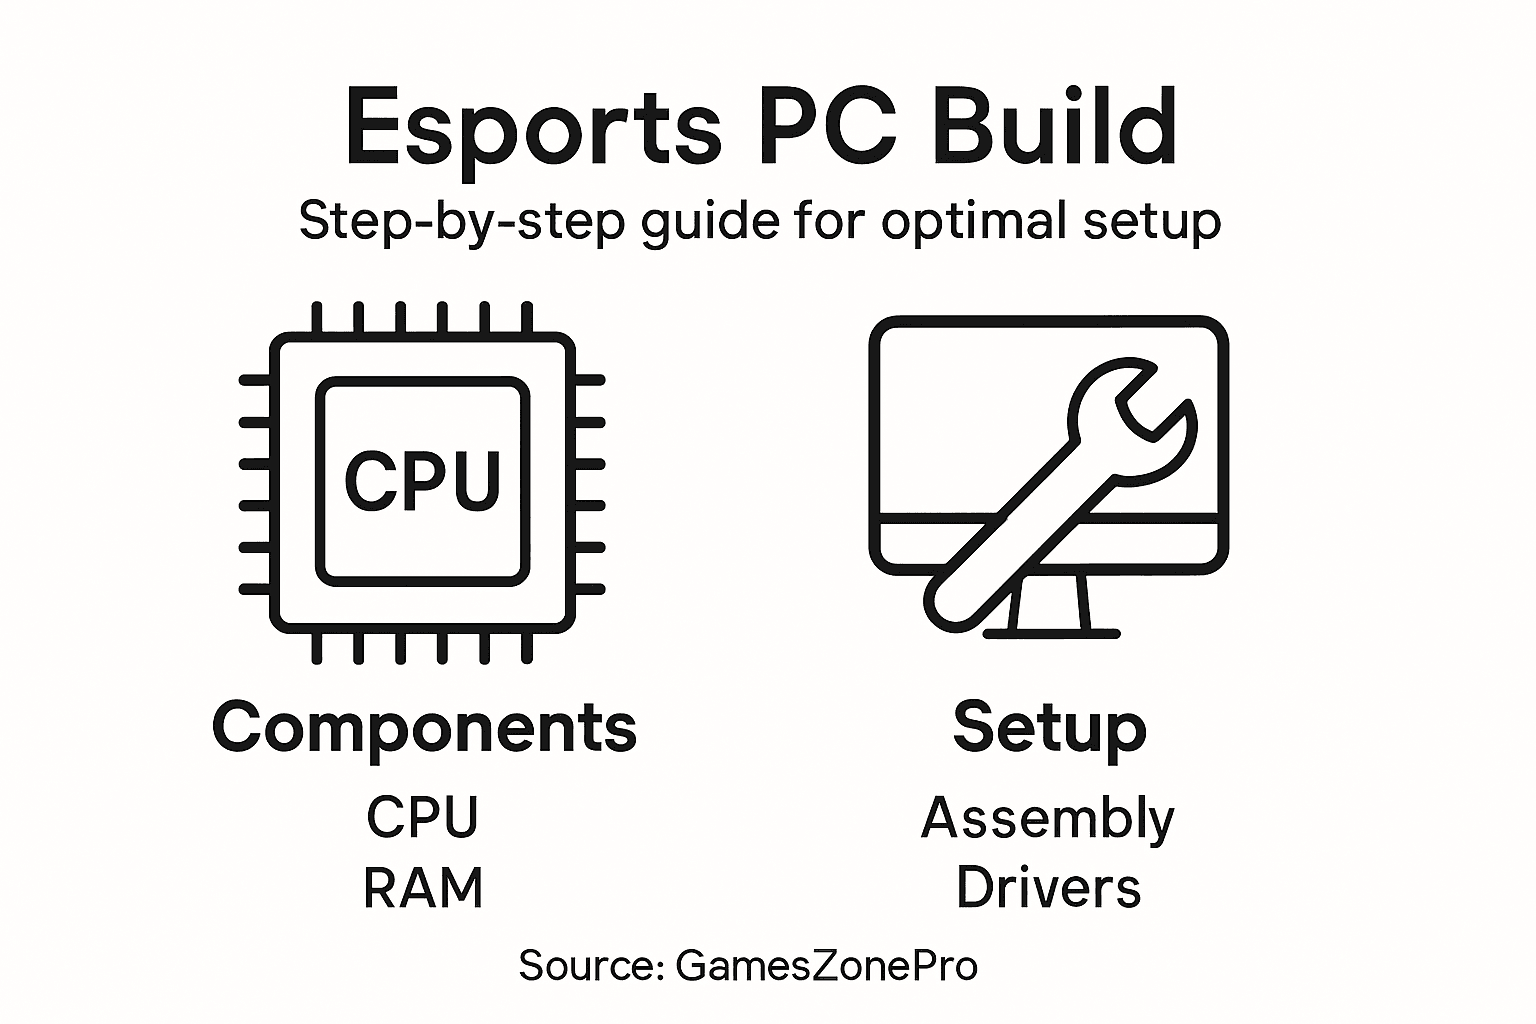
Step 1: Choose Optimal Components for Gaming
Your PC’s performance depends entirely on selecting the right components that work together. This step focuses on identifying processors, motherboards, RAM, and storage that match your esports ambitions and budget.
Start with your processor, which drives everything else in your system. For competitive gaming, you need a CPU with both high core counts and fast clock speeds. Modern processors ranging from mid-tier to high-end models deliver the frame rates esports demands, though prioritize clock speed if your budget is limited since most esports titles favor frequency over core count.
Next, ensure your motherboard has enough features to support your chosen processor and future upgrades. Look for models with sufficient power delivery, multiple USB ports for peripherals, and built-in cooling solutions. Your motherboard acts as the nervous system connecting all components, so don’t skimp here.
Memory speed matters in competitive play. DDR5 RAM provides better bandwidth and capacity than previous generations, translating to smoother gameplay in demanding titles. Aim for at least 32GB for modern esports and streaming scenarios, though 16GB remains viable for pure gaming.
Storage speed affects load times and overall system responsiveness. NVMe PCIe 4.0 SSDs offer the fastest data access available today, significantly reducing the seconds between launching a game and entering competitive matches.
Here’s a quick comparison of PC component choices and their typical impact on competitive gaming performance:
| Component | Main Impact on Gaming | Recommended Minimum | Upgrade Benefit |
|---|---|---|---|
| CPU | Frame rate & stability | 6 cores, 4.0 GHz | Smoother multitasking |
| Motherboard | Upgrade path & ports | B-series chipset | Better power & features |
| RAM | Load times & FPS | 16GB DDR5 | Faster load & streaming |
| Storage | Game load speed | 500GB NVMe SSD | Instant level transitions |
Here’s what to evaluate when comparing components:
- Price-to-performance ratio for your budget tier
- Thermal headroom and cooling requirements
- Compatibility between processor socket and motherboard
- Future upgrade paths without replacing existing parts
- Warranty and manufacturer support reputation
Balance performance gains against real-world costs. An extra 10% frame rate often costs 30% more, so identify your target refresh rate first and build toward that goal.
Once you’ve identified candidates in each category, cross-reference compatibility matrices on manufacturer websites. A powerful processor paired with a weak motherboard creates bottlenecks that waste your investment. Think of component selection like assembling a team—each player must complement the others’ strengths.
Pro tip: Buy your processor and motherboard as a bundle during sales events; retailers often discount platform combinations, saving 10-15% compared to purchasing separately.
Step 2: Assemble Your Gaming PC Carefully
Assembly is where precision matters. Taking your time during this phase prevents costly mistakes that could damage components or cripple performance. This step walks you through the physical process of installing each piece into your case.
Start by preparing your workspace. Find a clean, well-lit area with enough room to lay out components. Ground yourself by touching a metal part of the case to discharge static electricity, which can destroy sensitive electronics. Wear an anti-static wrist strap if you have one available.
Begin with the power supply unit at the bottom of your case. Mount it firmly and secure all fasteners. This foundation supports everything else, so ensure it sits rock solid. Connect the 24-pin motherboard power connector and 8-pin CPU power connector to your motherboard before installing it into the case.
Next, install the motherboard onto standoffs that came with your case. Align the I/O shield with the rear opening and secure the motherboard with all provided screws. Apply only moderate pressure—over-tightening can crack circuit boards.
Insert your processor into the CPU socket according to manufacturer instructions. Different socket types have different installation methods, so consult your motherboard manual. Apply thermal paste to the CPU, then carefully mount your cooler and secure it properly.
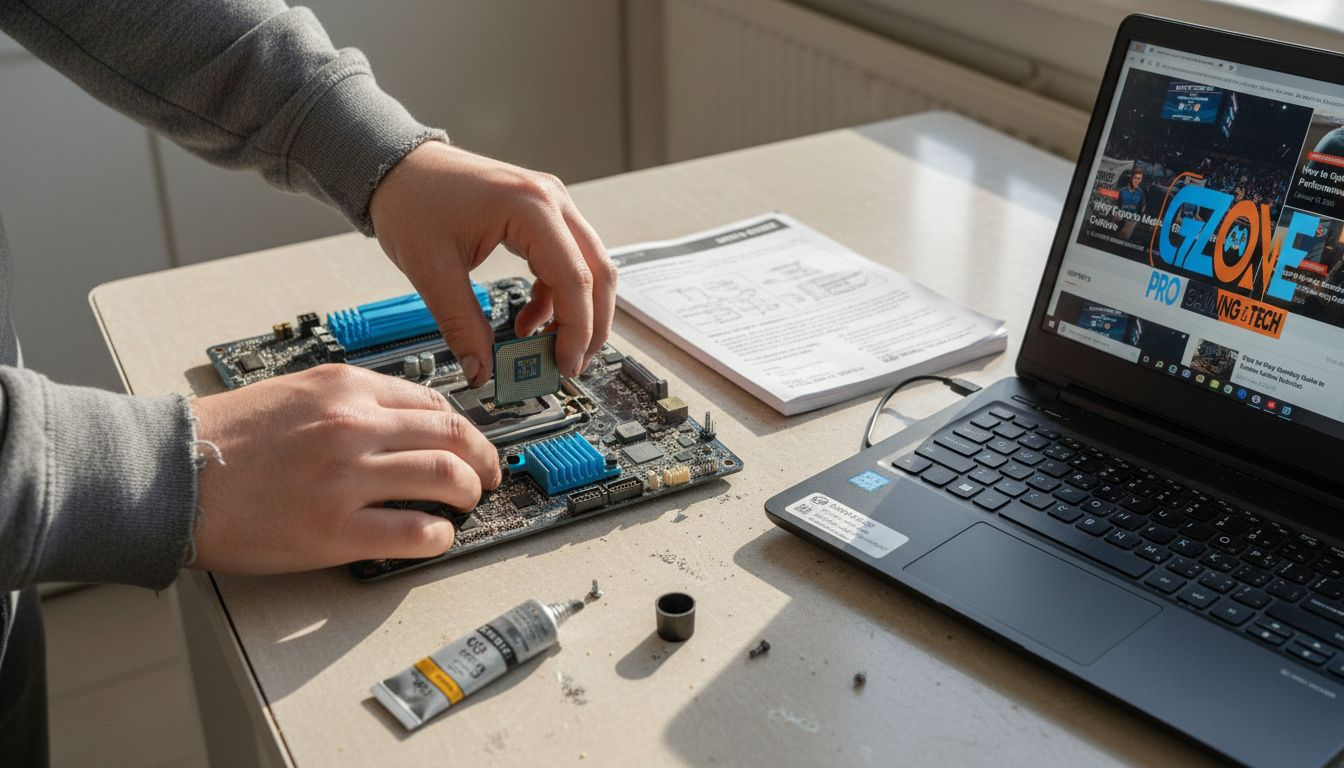
Install RAM modules by opening the retention clips on both ends of the memory slots. Press the RAM straight down until both clips snap into place. Never force components—they should fit with gentle, consistent pressure.
Add your storage drives to their mounting bays and connect them with SATA cables. Install your graphics card in the highest PCIe slot available, pushing firmly until it clicks and securing it to the rear bracket.
Follow this installation sequence to minimize mistakes:
- Mount power supply and connect main power
- Install motherboard with standoffs
- Add processor and cooler with thermal paste
- Insert RAM modules completely
- Place graphics card in primary PCIe slot
- Connect all storage drives and cables
- Double-check all power connections
Install components methodically rather than rushing. One missed connection or improperly seated module can cause hours of troubleshooting later.
Before closing your case, verify every connection twice. Power on briefly to test stability, then power down and reassemble the case panels. Cable management comes next, but don’t stress about aesthetics at this stage.
$ads={2}
Pro tip: Keep your motherboard manual open during assembly and reference it constantly; different motherboard models have power connectors in slightly different locations, and one missed connection will prevent your system from posting.
Step 3: Install Essential Software and Drivers
Your hardware is ready, but software makes it functional. This step covers installing your operating system, drivers, and gaming platforms that transform your PC into a competitive machine.
Start by installing Windows 10 or Windows 11 as your operating system. Create a bootable USB drive using Microsoft’s media creation tool, insert it into your PC, and follow the installation prompts. This process typically takes 20-30 minutes and establishes the foundation for everything else.
Once Windows is running, your next priority is installing drivers for every hardware component. Graphics card drivers from Nvidia, AMD, or Intel are absolutely critical for gaming performance and stability. Visit the manufacturer’s website directly rather than relying on Windows Update to ensure you get the latest versions optimized for competitive games.
Install motherboard chipset drivers next, which enable proper communication between your processor and other components. Your motherboard manufacturer provides these on their support website. Download the correct chipset package for your specific model and install it before proceeding.
Add sound and network drivers to complete hardware support. These often come bundled with chipset installations but should be verified on your motherboard’s support page. A stable network connection matters for online competitive play, so don’t overlook network drivers.
After drivers are installed, add gaming platforms and utilities:
- Windows Update to patch the operating system
- Microsoft DirectX for graphics rendering
- Steam or Epic Games for game library management
- Discord for team communication during matches
- Performance monitoring software to track frame rates
Install drivers immediately after Windows installation before launching any games. Missing drivers cause crashes, frame drops, and compatibility issues that ruin competitive performance.
Restart your PC after each major driver installation to ensure changes take effect. Use Windows Device Manager to verify that no devices show warning indicators. If you spot any devices with yellow exclamation marks, identify them and install the missing drivers before gaming.
Test your system with a demanding game to confirm everything works smoothly. Monitor temperatures and frame rates during this initial session to establish baseline performance. This validation step prevents surprises during actual competitive matches.
Pro tip: Create a system restore point after completing all driver installations; this allows you to revert to a stable state if a future driver update causes problems, saving hours of troubleshooting during tournament season.
Step 4: Test and Optimize Gaming Performance
Your PC is built and running, but raw performance needs validation and fine-tuning. This step shows you how to benchmark your system, identify bottlenecks, and optimize settings for maximum competitive advantage.
Start by running a comprehensive benchmark to establish your baseline performance. UserBenchmark provides professional stress testing that evaluates your CPU, GPU, RAM, and storage against millions of other systems worldwide. This reveals where your components stand and helps identify any underperforming hardware.
Launch your primary competitive game and measure frame rates at default settings. Use built-in performance overlays or external monitoring tools to track frames per second during actual gameplay. Record these numbers as your baseline before making any changes.
Next, focus on driver optimization. Ensure your graphics card drivers are fully updated with the latest gaming profiles. Nvidia and AMD release driver updates specifically tuned for popular esports titles, so check for updates before each tournament season.
Manage background applications that consume system resources. Disable unnecessary startup programs through Task Manager’s startup tab. Discord, streaming software, and browser tabs all compete for CPU and RAM that could fuel your game instead.
Adjust in-game graphics settings strategically. For competitive gaming, prioritize frame rate over visual quality. Most esports players run lower resolution scaling and disable advanced effects like ray tracing and ambient occlusion to achieve higher frame counts.
Optimize performance using these proven techniques:
See how pre- and post-optimization steps affect competitive gaming outcomes:
| Step | Outcome Before Optimization | Outcome After Optimization |
|---|---|---|
| Driver Updates | Random crashes in-game | Stable performance with higher FPS |
| Task Cleanup | Lag during multitasking | Consistent frame pacing |
| Settings Tuning | Choppy performance | Smoother, faster gameplay |
| Temp Monitoring | Risk of overheating | Extended hardware lifespan |
- Disable unnecessary visual effects and reflections
- Lower shadow quality and draw distance settings
- Reduce texture resolution if frame rate is capped
- Enable performance mode in Windows power settings
- Monitor system temperatures during gameplay
- Close all background applications before competitive matches
Prioritize frame rate consistency over peak frame rate. Stable 144 FPS beats unstable 200 FPS that dips during fights.
After making changes, test your frame rates again and compare against your baseline. Small adjustments compound, so iterate gradually rather than making drastic changes. Most competitive players stabilize between 144-240 FPS depending on their monitor capabilities.
Monitor your system temperatures during extended gaming sessions. Temps above 80 degrees Celsius indicate cooling problems that degrade performance over time. Clean dust filters and ensure proper case airflow if temperatures run hot.
Pro tip: Create separate in-game profiles for different titles and save your optimal settings; when you switch between games during practice, you can instantly apply tested configurations rather than adjusting settings from scratch each time.
Master Your Esports Build With Expert Guidance
Building a gaming PC for esports success can feel overwhelming with so many components to balance like CPUs, motherboards, RAM, and SSDs. If you are striving to hit stable 144 FPS with the right hardware and flawless software setup but worry about compatibility, thermal management, or driver optimization this is your moment to gain confidence. The challenge of assembling a tournament-ready machine is common but conquerable with step-by-step support.
Unlock detailed tutorials, honest gear reviews, and competitive gaming strategies that empower you to optimize every piece of your build. Visit GamesZonePro now to explore essential guides on component choices, assembly tips, and performance tuning. Don’t let hardware bottlenecks or software glitches hold back your potential. Start building your esports dream rig today for superior frame rates, smoother gameplay, and lasting success
Find your perfect build advice and the latest esports insights at GamesZonePro, your comprehensive hub for gaming excellence.
Frequently Asked Questions
What are the essential components for building a gaming PC for esports?
To build a gaming PC for esports, focus on a high-performance processor, a compatible motherboard, fast DDR5 RAM, and an NVMe PCIe 4.0 SSD for storage. Choose components that not only meet your performance needs but also fit within your budget.
How do I ensure all components are compatible when building my gaming PC?
To ensure component compatibility, cross-reference manufacturer compatibility matrices before making a purchase. Verify the processor socket and motherboard chipset match, and check that the power supply has enough wattage to support your build.
What steps should I follow to assemble my gaming PC?
Start by preparing your workspace and grounding yourself to avoid static damage. Follow a systematic sequence: mount the power supply, install the motherboard, insert the processor and RAM, add the graphics card, and finally connect your storage devices, double-checking all connections as you go.
How do I install the operating system and drivers after building my gaming PC?
Begin by creating a bootable USB drive with your chosen operating system, such as Windows 10 or Windows 11. After installation, immediately proceed to install the latest drivers for your graphics card and motherboard to ensure optimal performance from the start.
What should I do if my gaming PC is not performing well?
If your gaming PC is underperforming, start by running a benchmark to identify bottlenecks. Then, update all drivers, manage background applications, and adjust in-game graphics settings to prioritize frame rate, aiming for a stable gameplay experience.